2.11.5. STMIX re-flash 


- Reboot the STMIX via SSH or power cycle the card via re-plug.
- Ensure the STMIX BIOS settings.
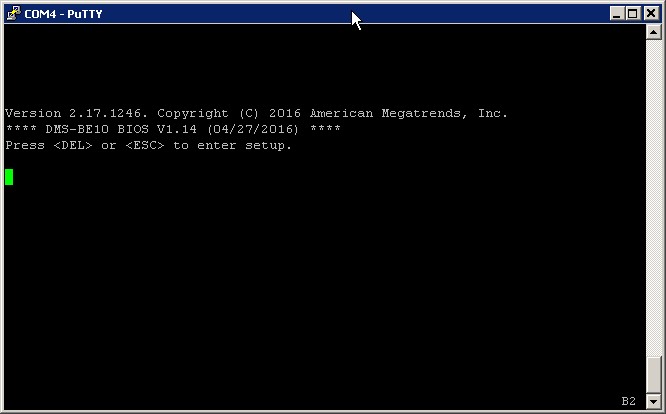
In the terminal you will see the STMIX booting. Immediately press ESC or DEL to access the BIOS Setup.
Figure 24. Reset STMIX via PuTTY
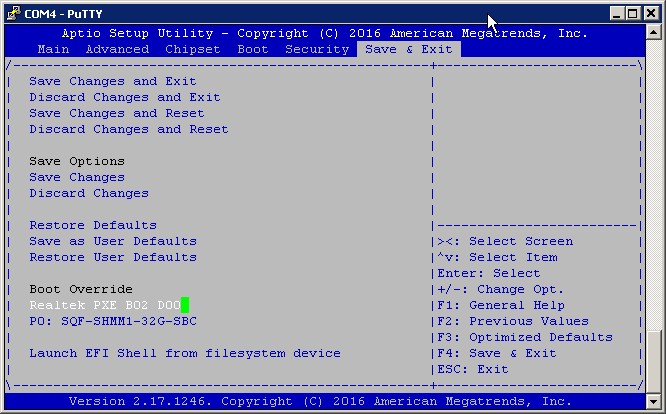
 In the Save & Exit section go to "Realtek PXE" boot option and press Enter.
Figure 25. STMIX boot
INFO:
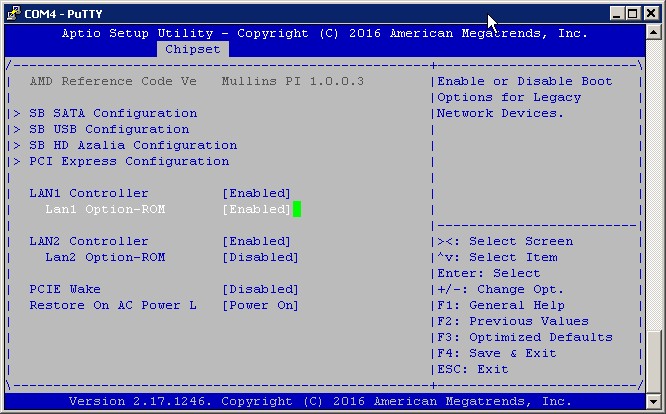
If there is no option for "Realtek PXE" boot, first enable it under Chipset -> South Bridge -> Lan1 Option-ROM -> Enable -> Save. Exit and start over.Figure 26. Enable Lan1 Option-ROM
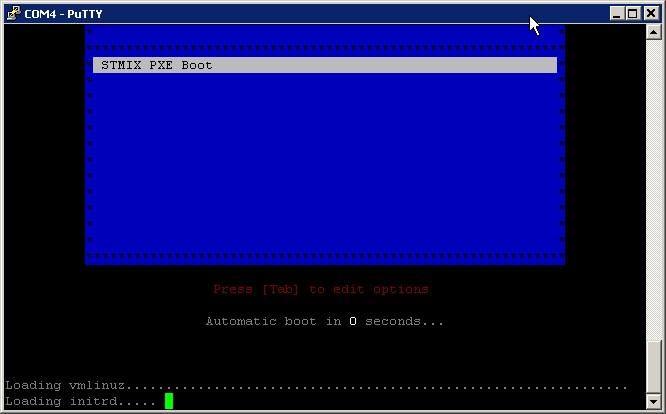
- Upon boot you will see STMIX PXE Boot in the terminal.
Figure 27. STMIX PXE Boot screen
 You should now see in the dhcp/tftpd program popup messages with the allocated IP address and the files loading to STMIX.
Figure 28. DHCP allocated address

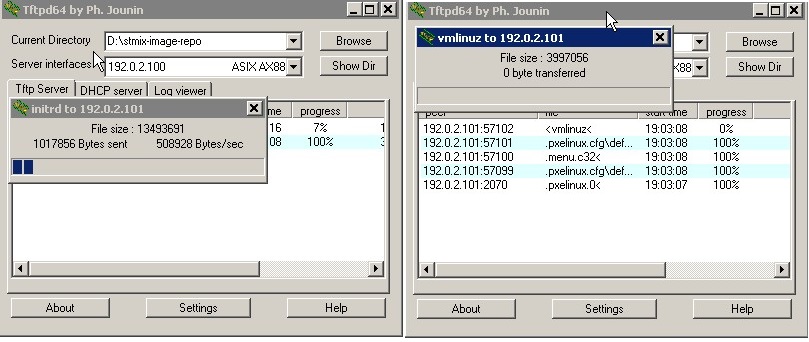
Figure 29. tftpd pop-ups
 The output in the STMIX terminal should now show:
- Loading vmlinuz.....
- Loading initrd......
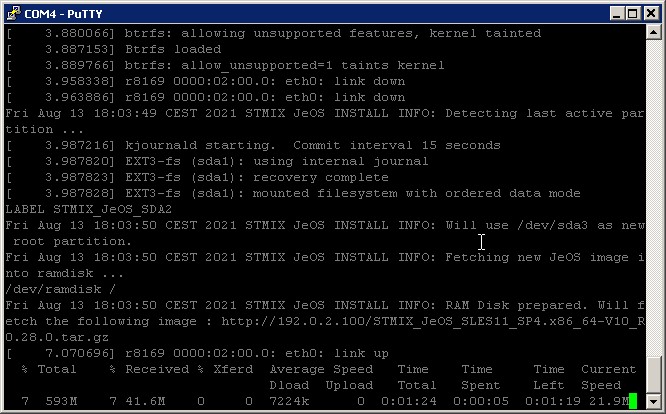
The loader will be started and will fetch the image. Should see in terminal “Will fetch the following image: http://192.0.2.100/STMIX_JeOS_SLES11_SP4.x86_64-V10_R0.28.0.tar.gz”Figure 30. JeOS image fetch
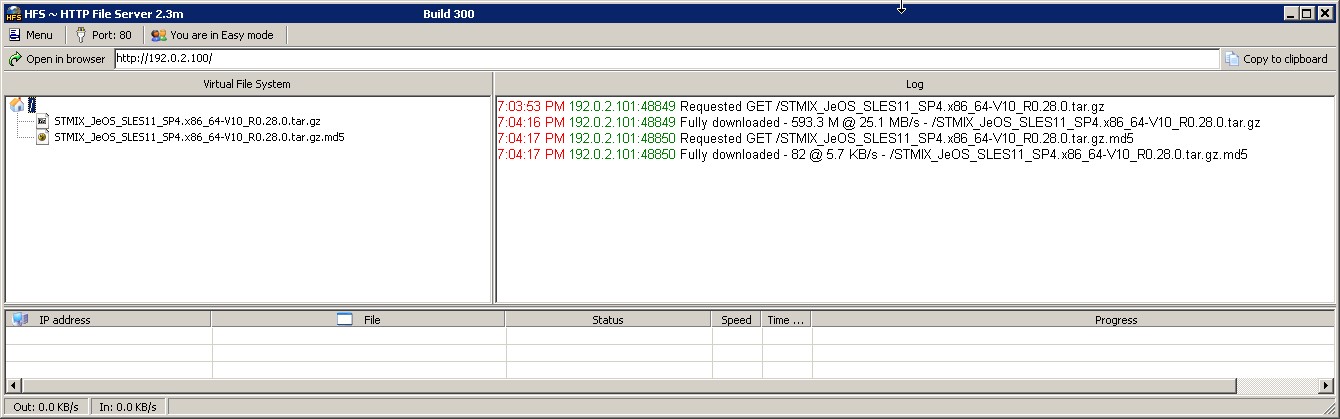
 The Fileserver will show in log screen the image and checksum loaded.
Figure 31. Image loaded
 It will write the image to either sda2 or sda3, which will activate the partition and will reboot.
Figure 32. Image writing
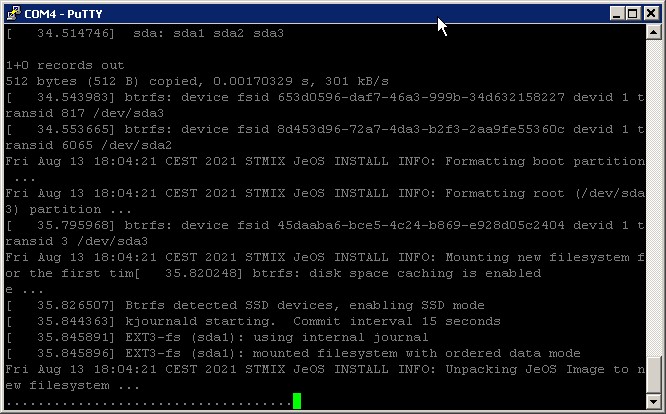
Figure 33. Automatically reboot
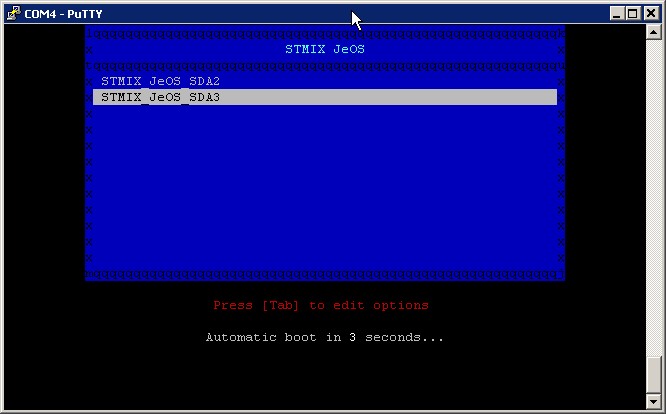 SDA2 will be written if SDA3 was the last known good partition that still booted.SDA3 will be written if SDA2 was the last known good partition that still booted.
 - The STMIX should now boot from the just written sda2/sda3 which will be
automatically activated by the flashing process (and become READY in RMX if
configured).
INFO:
When flashing more than one STMIX board in a row, before the next PXE boot process clear the DHCP Server cache (tftpd program’s DHCP Server tab, right click on already used allocation and Delete). Otherwise, it will not allocate the IP address 192.0.2.101 again to another MAC address.